简单典雅刘海盘发

最终效果图:将头发分成四区,使得全部头发中分两边,再使得左右两边的头发分成上下两部分,看似简单实则细致,在点滴细节处展现别致心动的时尚元素,这款就是卷曲刘海典雅盘发哦,尽显高贵迷人风采。

步骤1. 中分的刘海,各取2厘米左右的刘海用卷发棒卷出“S”的造型。
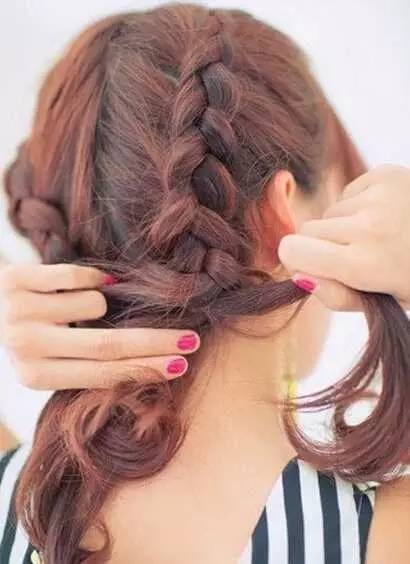
步骤2. 左右两边的上半侧都编起麻花辫,紧贴头发直至脖子处固定。
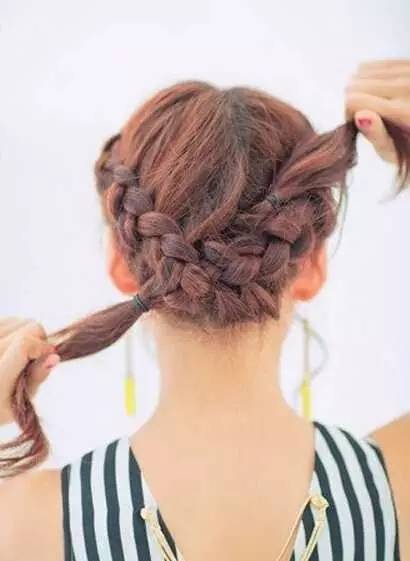
步骤3. 用发圈左右束起余下的头发,交叉穿过上面固定住的麻花辫,然后自然蓬松地盘起。

步骤4. 用U型夹子固定整体的四个角,分别是上脑勺的左右侧和下脑勺的左右两边。
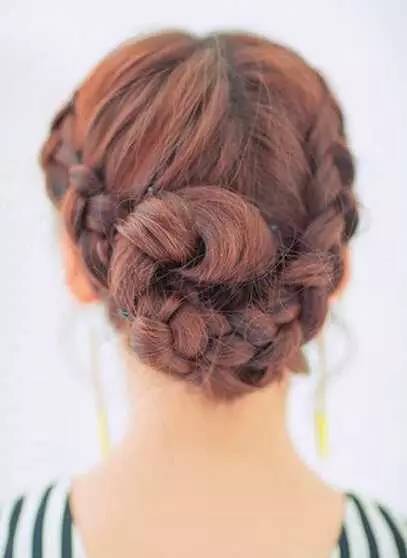
步骤五:看,这样卷曲刘海典雅盘发完成啦。


